How to configure ports in the PROFINET-INspektor®
When you set-up the PROFINET-INspektor®, you may need to update the passive port configuration; to do this, follow these steps:
Step #1: Download the ServiceTool software, which can be found at the following link:
Scroll down the page until you find "ServiceTool".

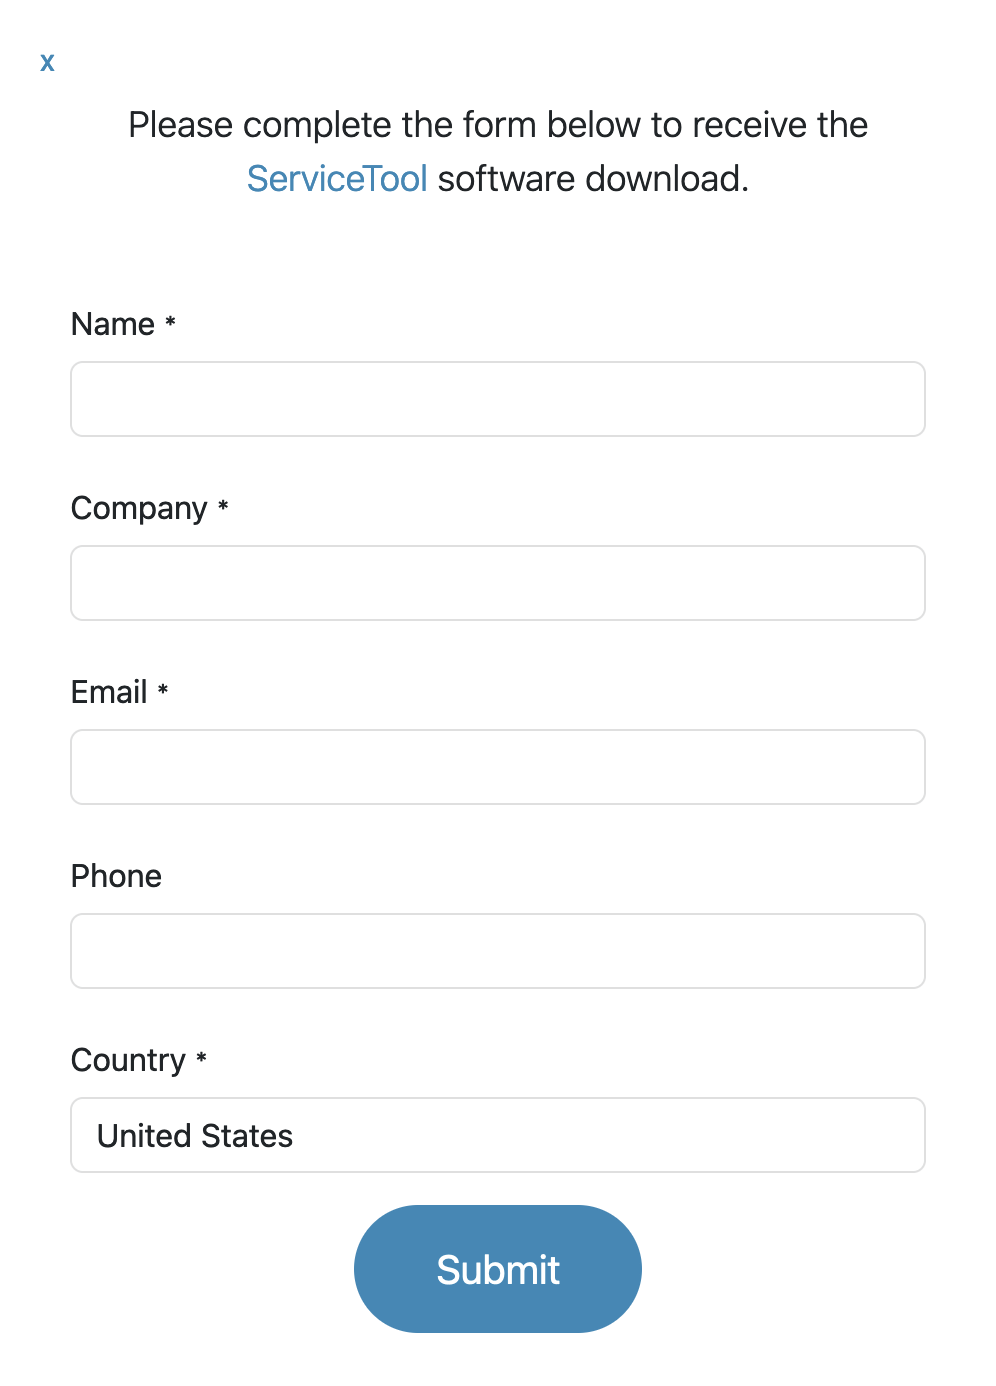
Step #2: Enter your data, and the software will be available as a downloadable link immediately. You will also receive the software to be sent as a download by email for easy access.
Step #3: Once you have the file to install the ServiceTool, install it like any other program.

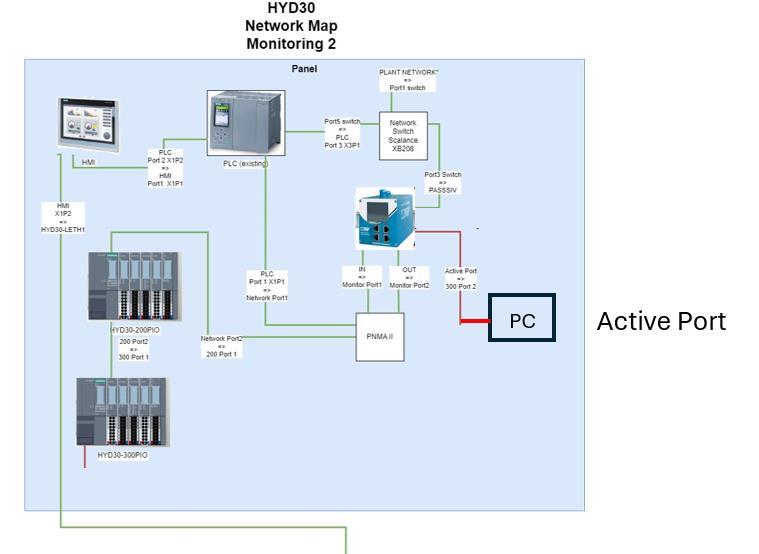
Step #4: With the program already installed, connect the computer to the active port of the PROFINET-INspektor®.
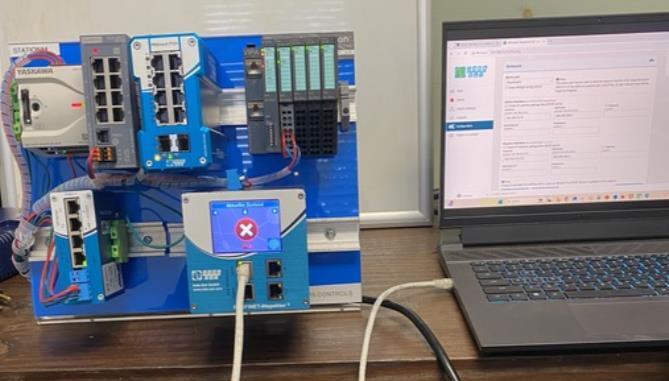
The topology would look like this:
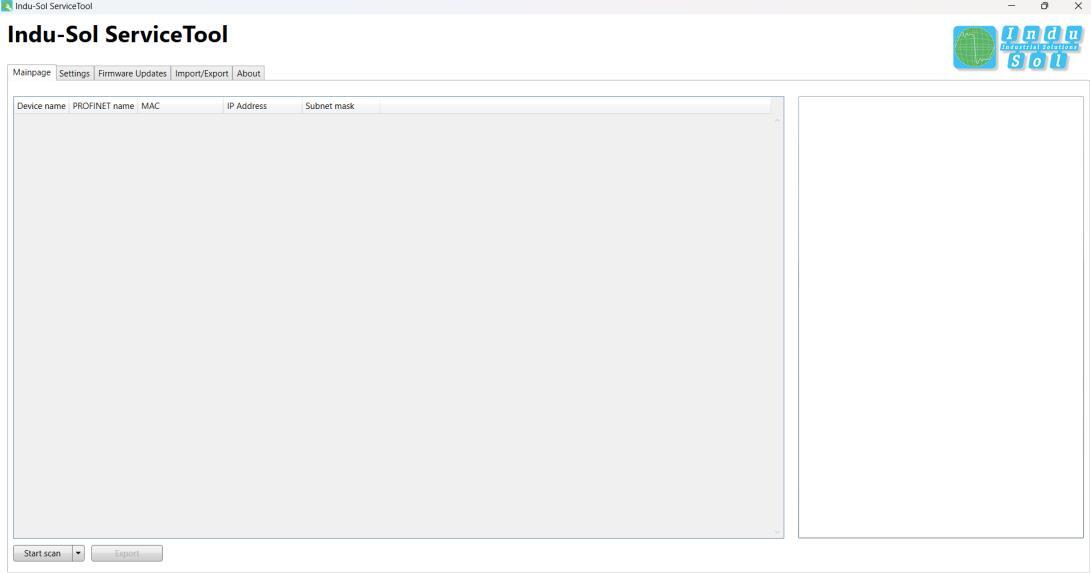
Step #5: Now, with the computer connected to the PROFINET-INspektor®, open the ServiceTool:
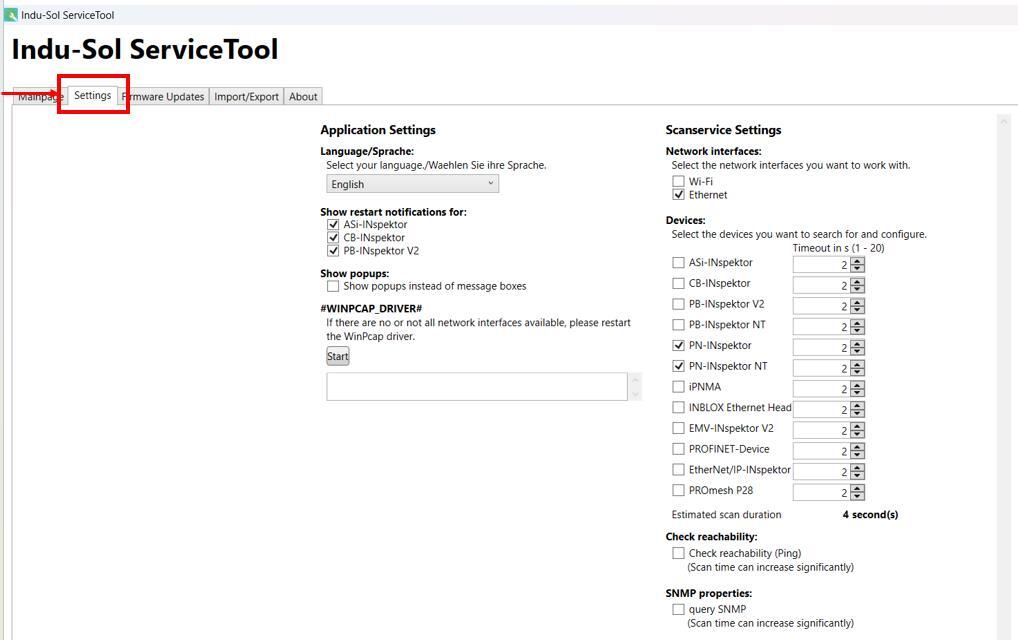
Step #6: Click on "Settings".
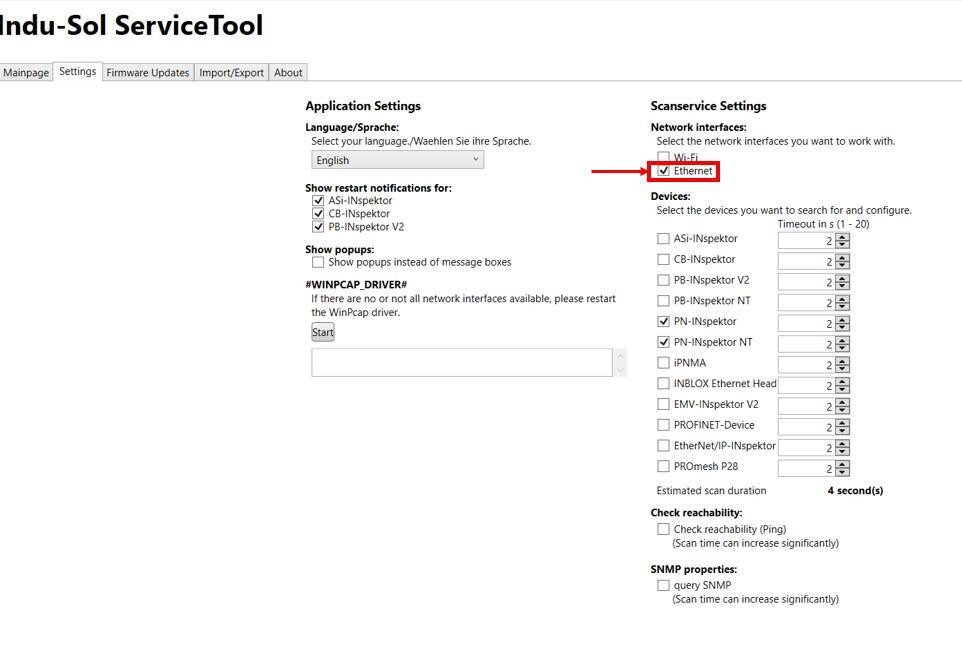
Step #7: Select "Ethernet".
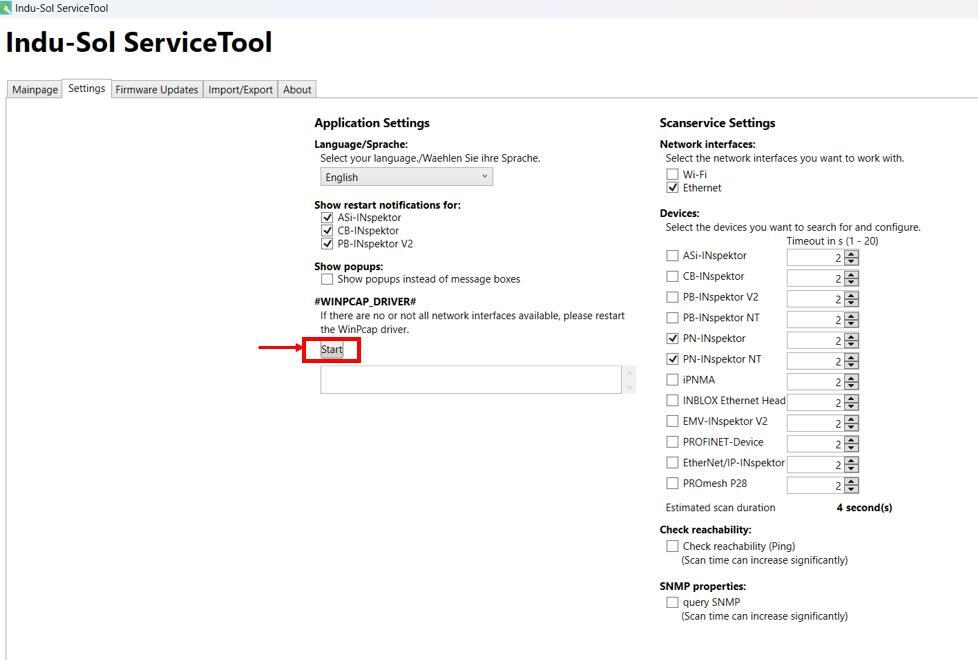
Step #8: Click on "Start".
Step #9: Select "PN-INspektor" and "PN-INspektor NT" (Only those 2 must be checked).

Step #10: Click "Mainpage".
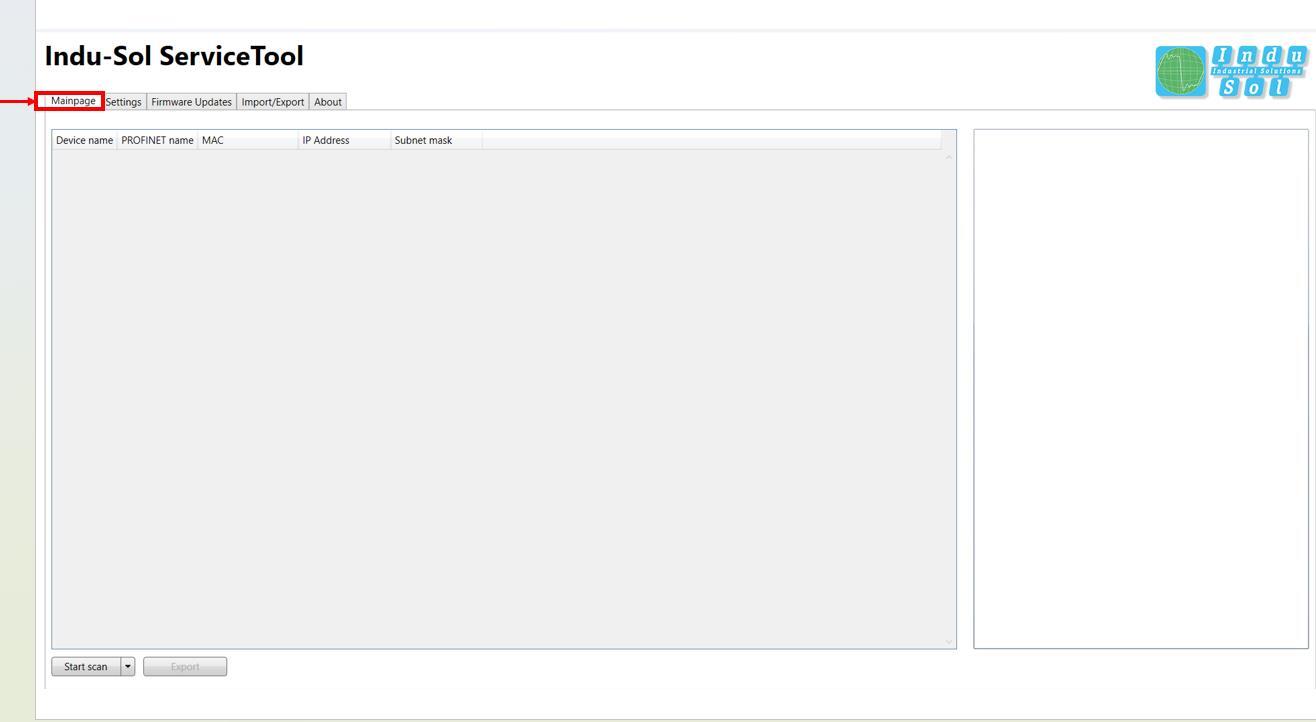
Step #11: Click "Start scan".
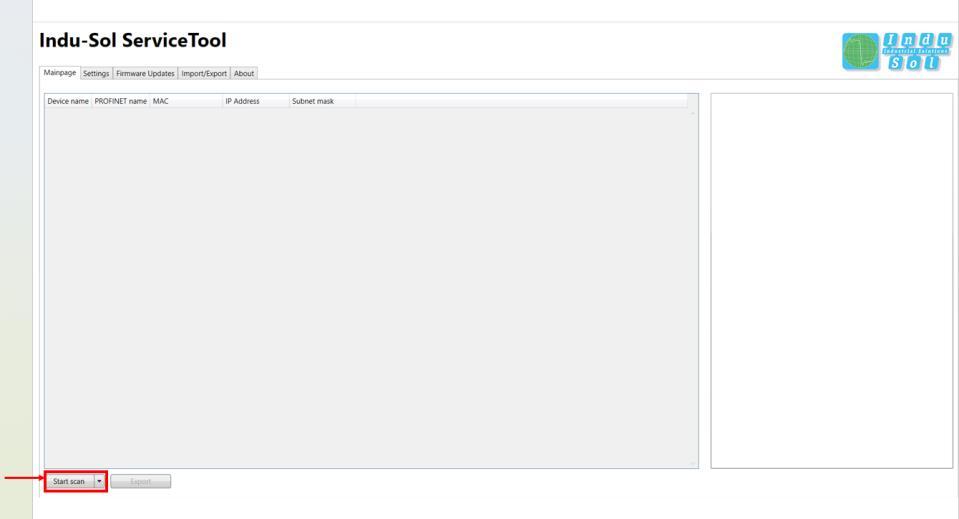
Step #12: Assign the IP of your computer to one that is in the same range as the active port of the PROFINET-INspektor®.
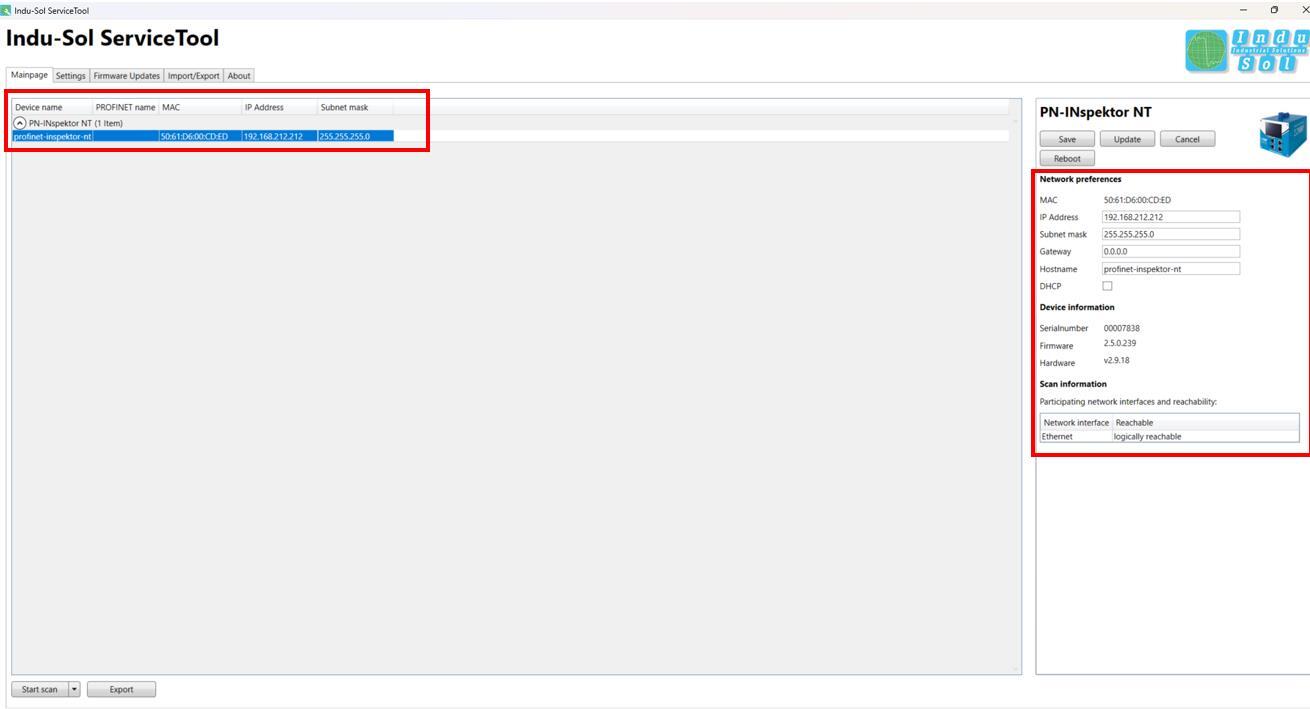
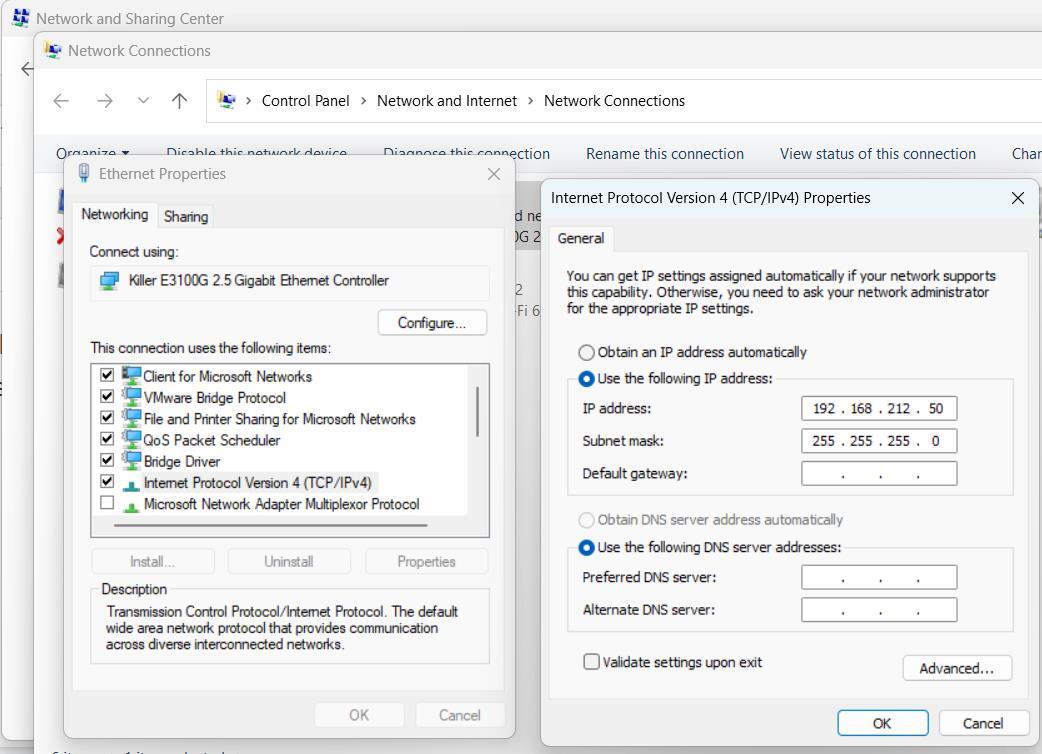
Step #13: Once you have assigned an IP on your computer that is in the same IP range as the active port of the PROFINET-INspektor®, you can right click on the INspektor® and go to "Visit webinterface".
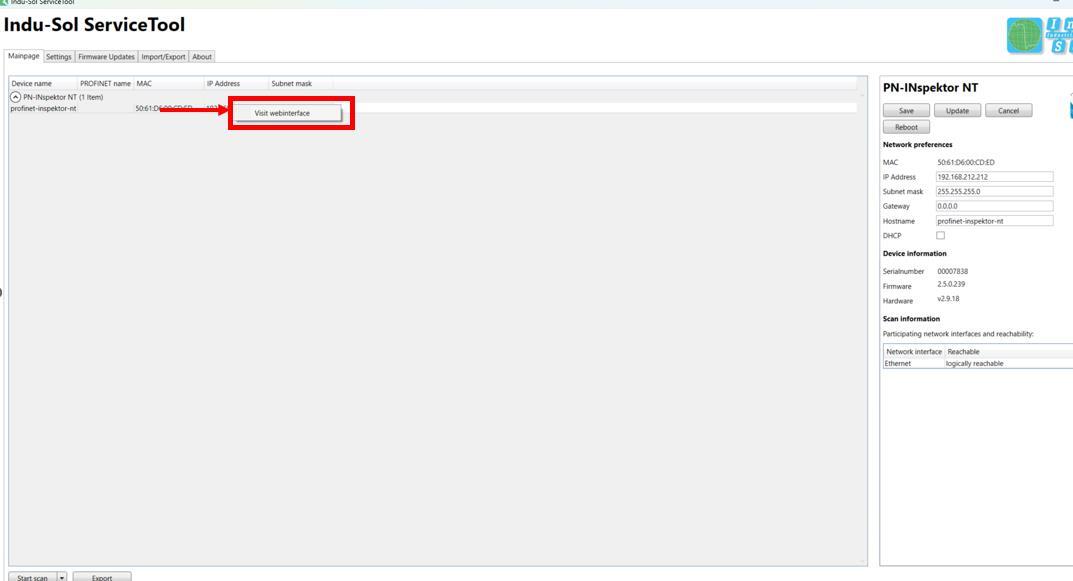
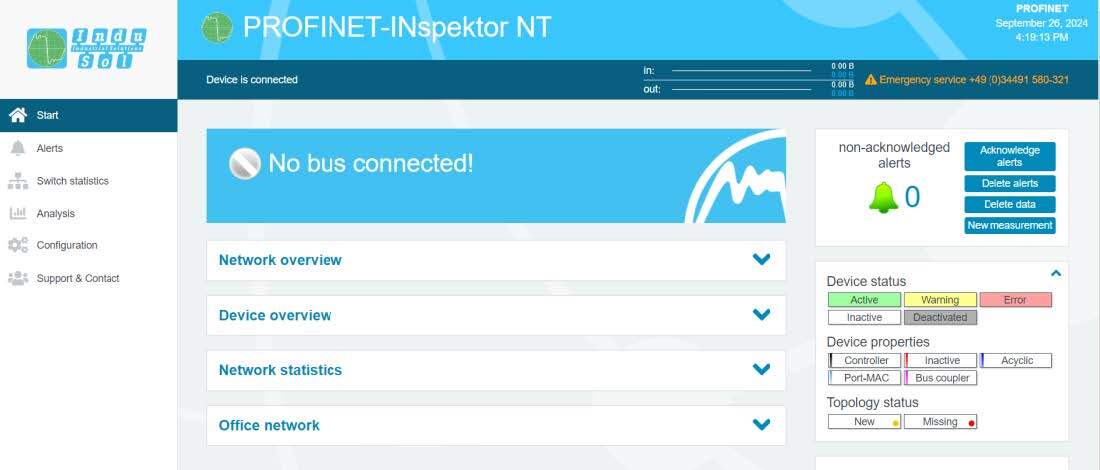
Step #14: The following interface will appear.
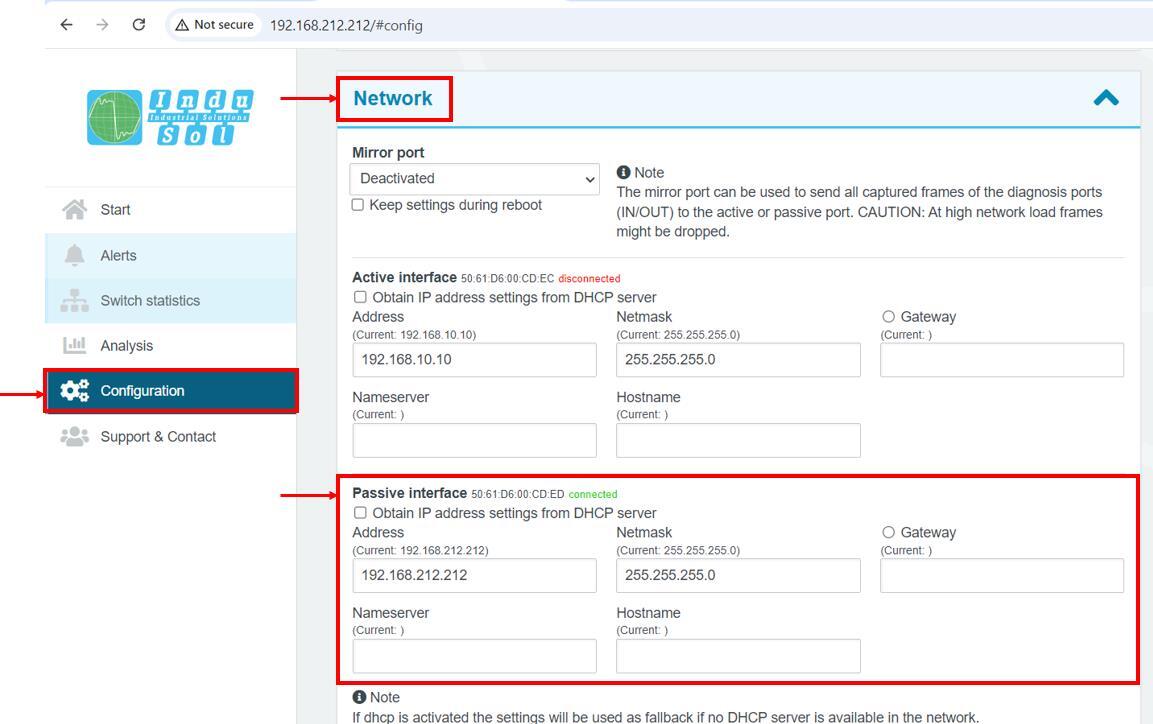
Step #15: Go to "Configuration", then to "Network", and there you can change the PROFINET-INspektor® passive port configuration, which must be assigned to an IP that is within the range of the network in question.
Keep Learning:
PROFINET
PROFINET in the context of Industry 4.0What is PROFINET?
PROFINET Network Planning
ServiceTool
How to use the Indu-Sol ServiceTool to identify the IP of PROFINET devicesPROFINET-INspektor®
How to set PLC as Master in the PROFINET-INspektor®How to set-up automatic topology scanning in the PROFINET-INspektor®
How to set-up automatic Switch scanning in the PROFINET-INspektor®
How to get reports and alarms from the web interface of the PROFINET-INspektor®
How to make a manual snapshot in the PROFINET-INspektor®
PROFIBUS
What is PROFIBUSHow to troubleshoot PROFIBUS systems with the PROFIBUS Tester PB-Q ONE
